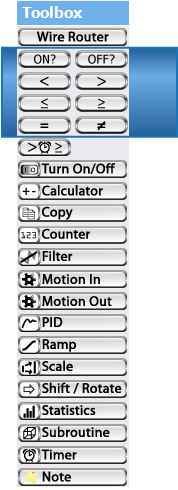
 Decision Blocks
This tutorial goes over:
 On
On Off
Off Less Than
 Greater Than
 Less Than or Equal
 Greater Than or Equal
 Equal
Equal Not Equal
![]() Timer Compare is covered in the Timer Tutorial.
Timer Compare is covered in the Timer Tutorial.
They ask a question that answers YES or NO.
- asks: if something is ON (bit value 1)
- asks: if something is OFF (bit value 0)
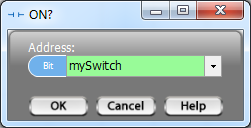 There’s only 1 tag to fill out for ON and OFF Dialog Boxes. An ON example is shown to the right.
Comparing Values
Example: 12 > 32 We’re asking is 12 greater than 32. This example’s answer is NO.
The value left of the comparison we’ll call LEFT and on the right we’ll Call RIGHT
- is LEFT less than RIGHT?
- is LEFT greater than RIGHT?
- is LEFT less than or equal to RIGHT?
- is LEFT greater than or equal to RIGHT?
- is LEFT equal to RIGHT?
- is LEFT not equal to RIGHT?
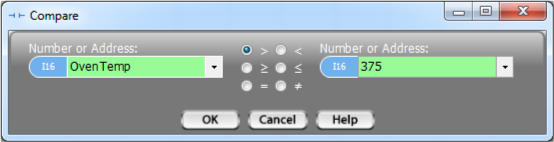 As shown above, there’s 2 slots for data. Use a Tag or a Number in each spot. The 2 slots don’t contain data of same type. We’ll do data conversion so they are correctly compared.
*Be careful when using an = comparison with Floats. Floats don’t always perfectly represent numbers (but they are typically very very close). This isn’t specific to our devices, Floats are just prone to slight inaccuracies.
Wiring Decision Blocks
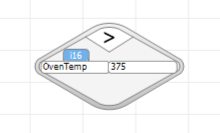
<– what a placed Decision Block looks like.
All Decision Blocks have this diamond shape and are wired the same way.
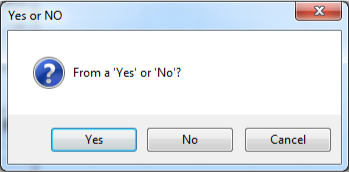
Dragging your first wire from a Decision Block will cause the box on the right to pop up. Choose the answer you want to cause your new wire to be followed.
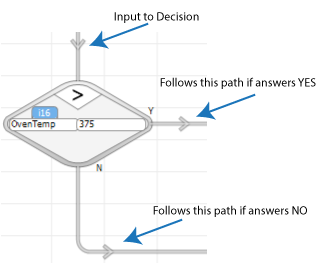
<– what a Decision Block looks like when it’s been placed and wired.
It’s not required that you wire both a YES and a NO path. If a YES or NO path isn’t wired and it is logically followed, the program will have reached it’s completion and will start back from the beginning.